Comforting: Salmon and Corn Chowder

So I found a recipe on Oprah.com that was both easy and yummy and I decided to try it out.

The original recipe can be found here.

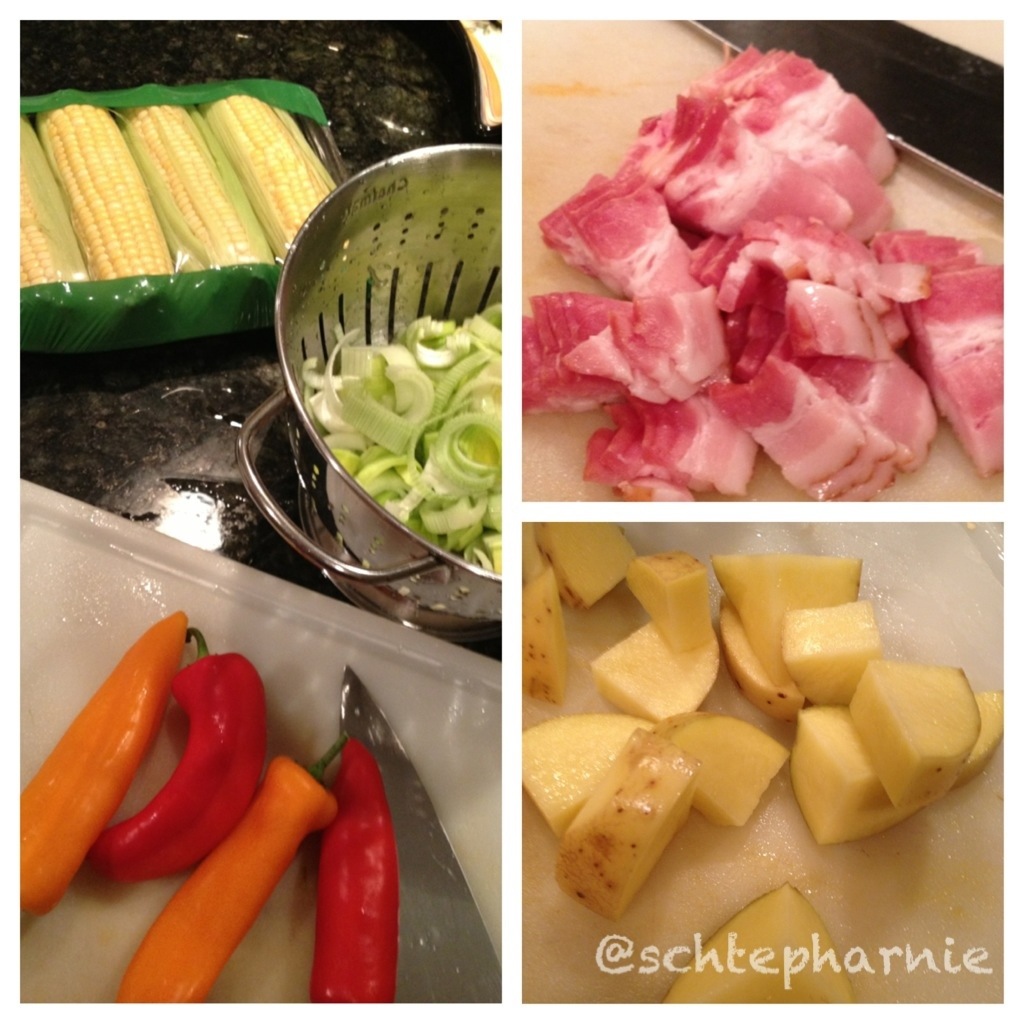
I did one major variation from the recipe. Instead of using creamed corn, which I honestly don’t care for, I used fresh corn. But as I always say, do what you feel tastes best!

First things first, how can you have chowder without the bacon? =)
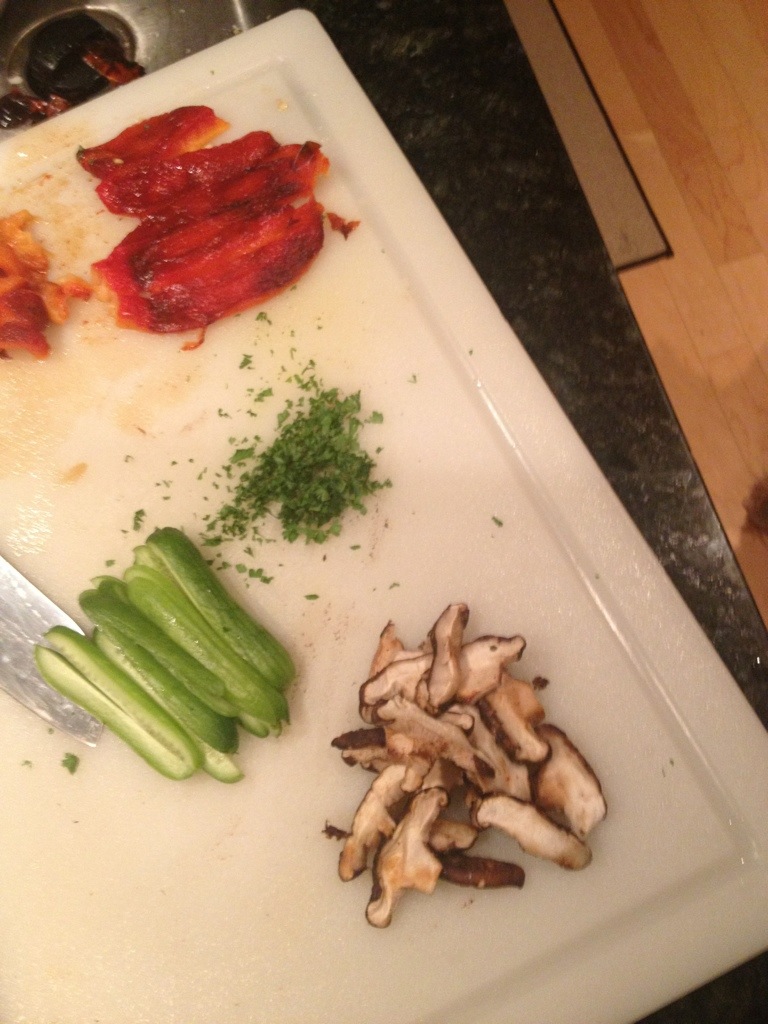
Ingredients are listed out in the original recipe but basically the basics are leeks, peppers, bacon, potatoes, fresh corn (my take) and of course salmon!

20121219-140727.jpg

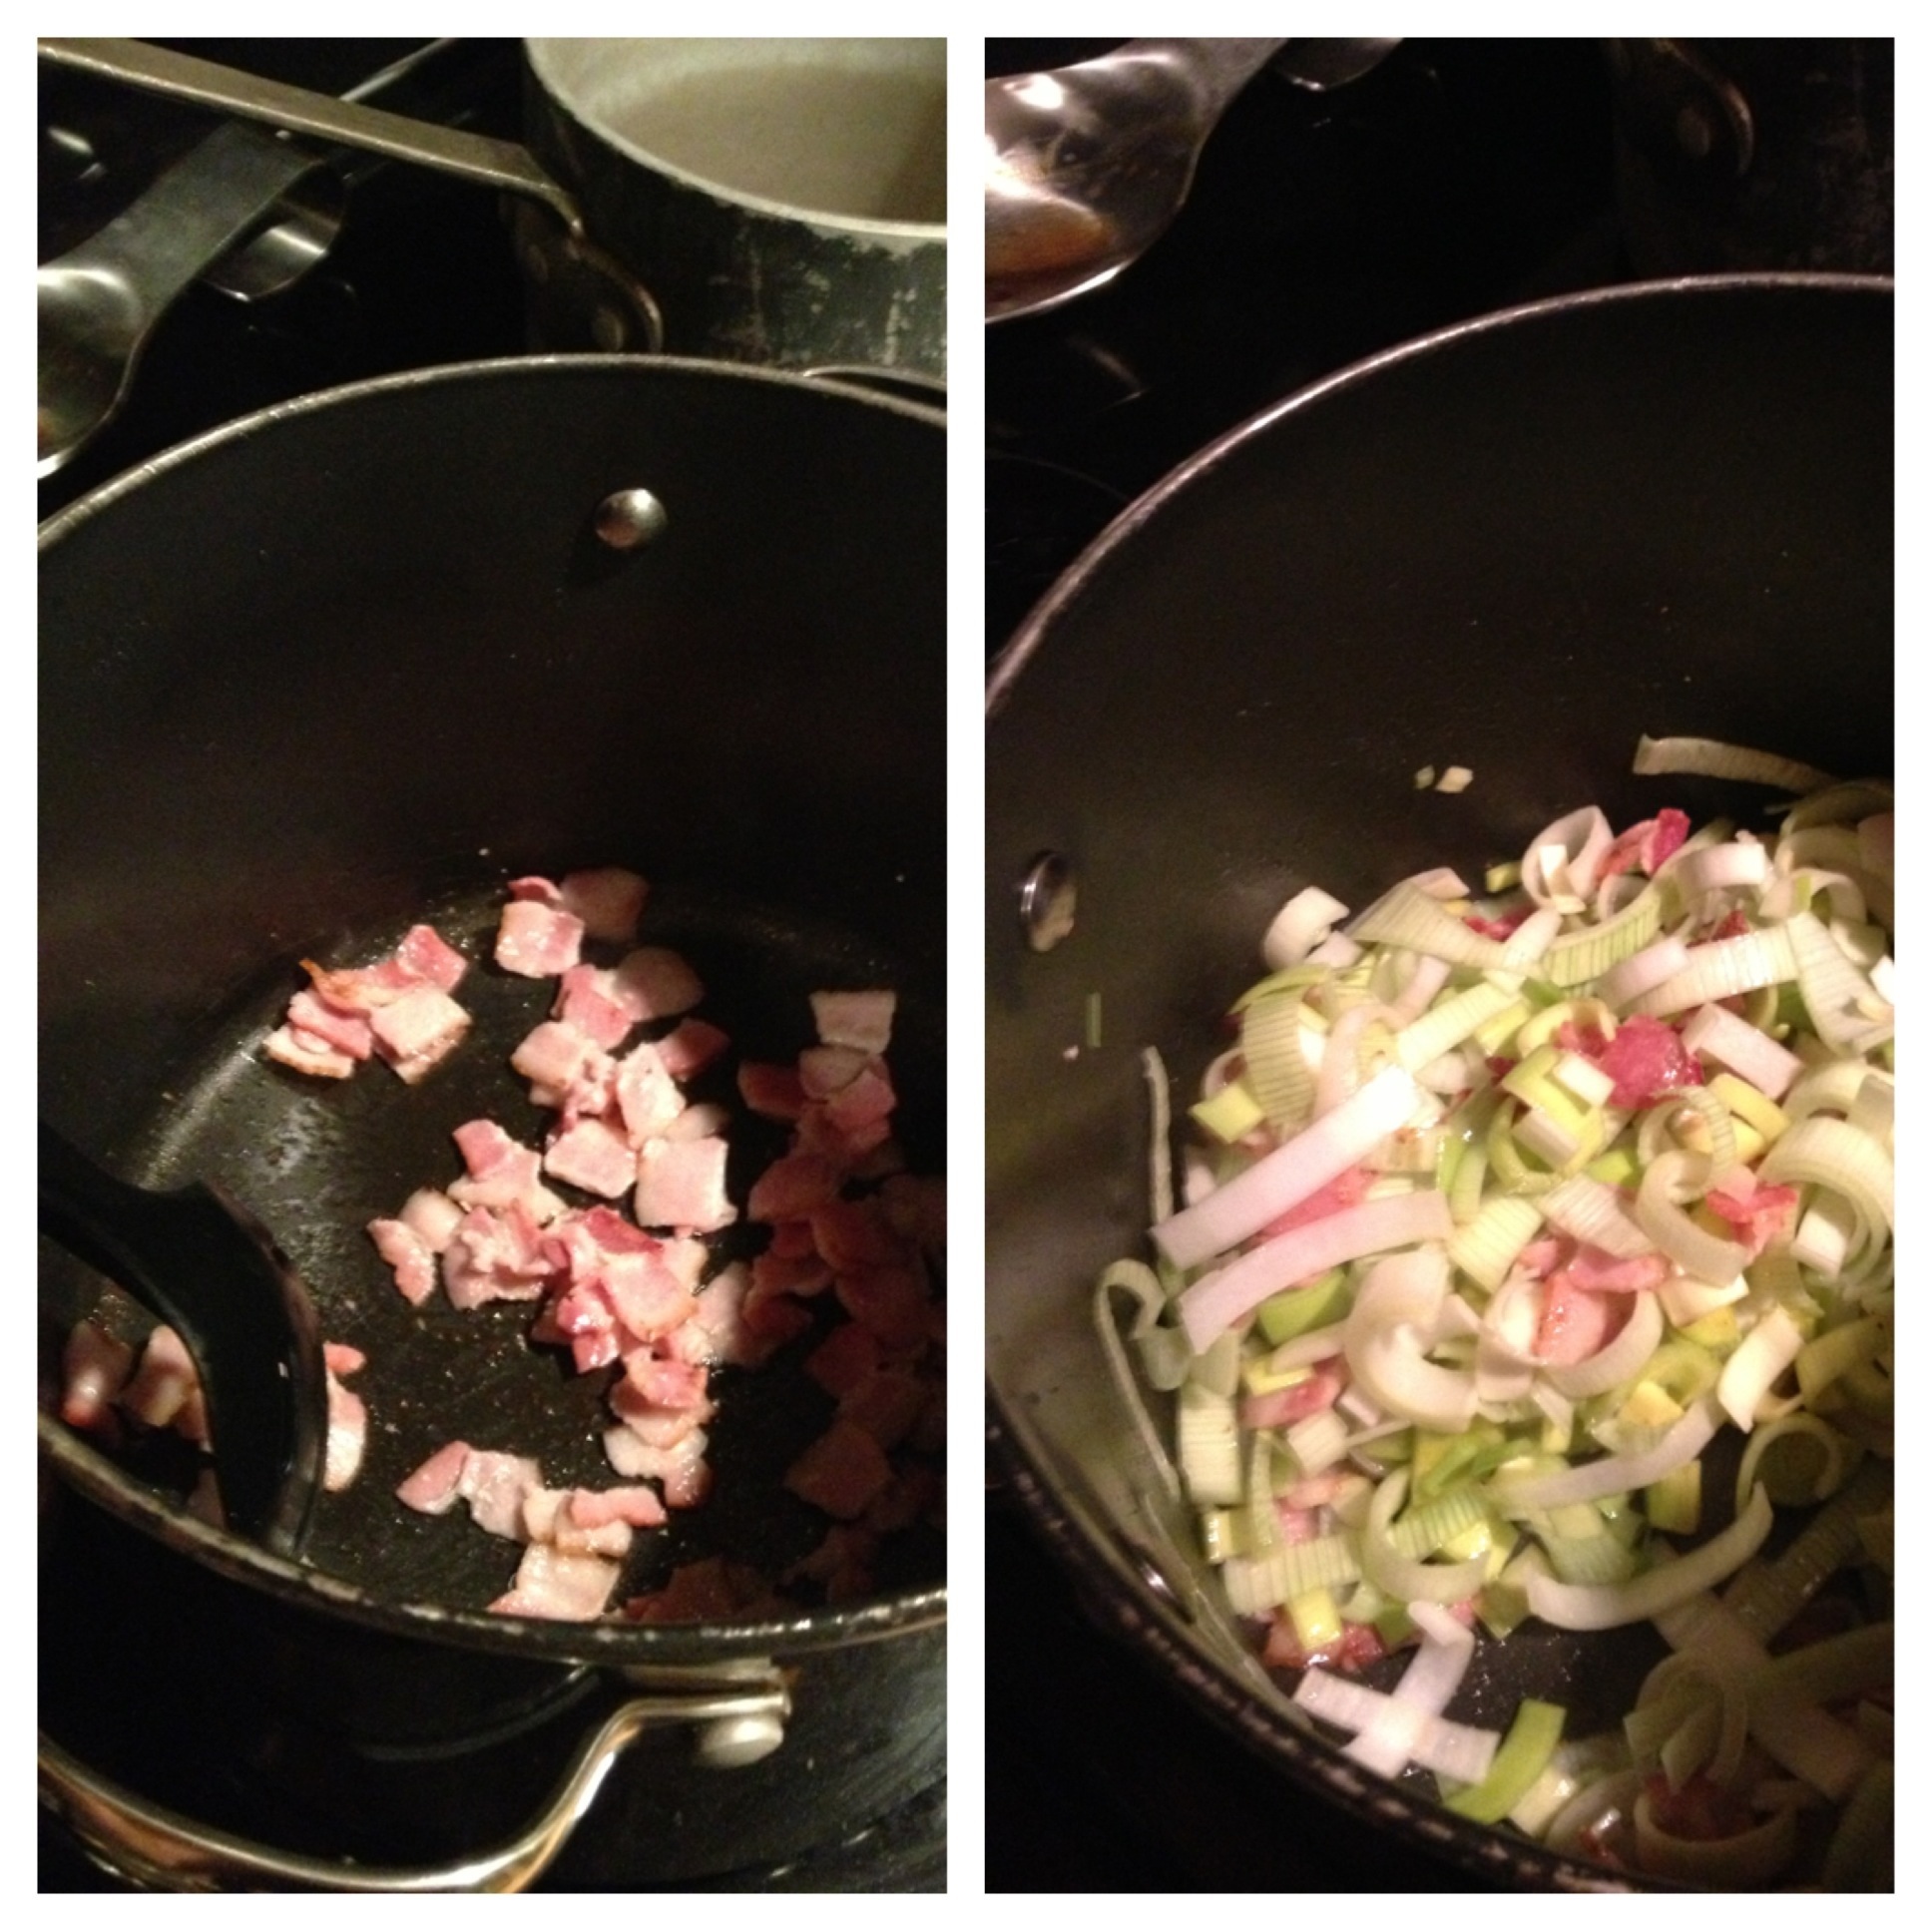
Next the cooking. I started off with the bacon to render some of the fat off and use the bacon grease as my cooking fat. Yum. Bacon.

(At this point I can only think of breakfast…………… Okay stop getting distracted. You’re worse than me)

After the bacon achieved about….. 75% crispness (in my eyes….) I threw in the leeks, tossed them in the bacon fat and then let it sweat for a few mins covered.
The original recipe says to take the bacon out and crumble it on top at the end. However I liked leaving the small bits of bacon in the soup. It reminds me of the way clam chowder is. Again, it’s your call to decide what you like best.

20121219-141019.jpg

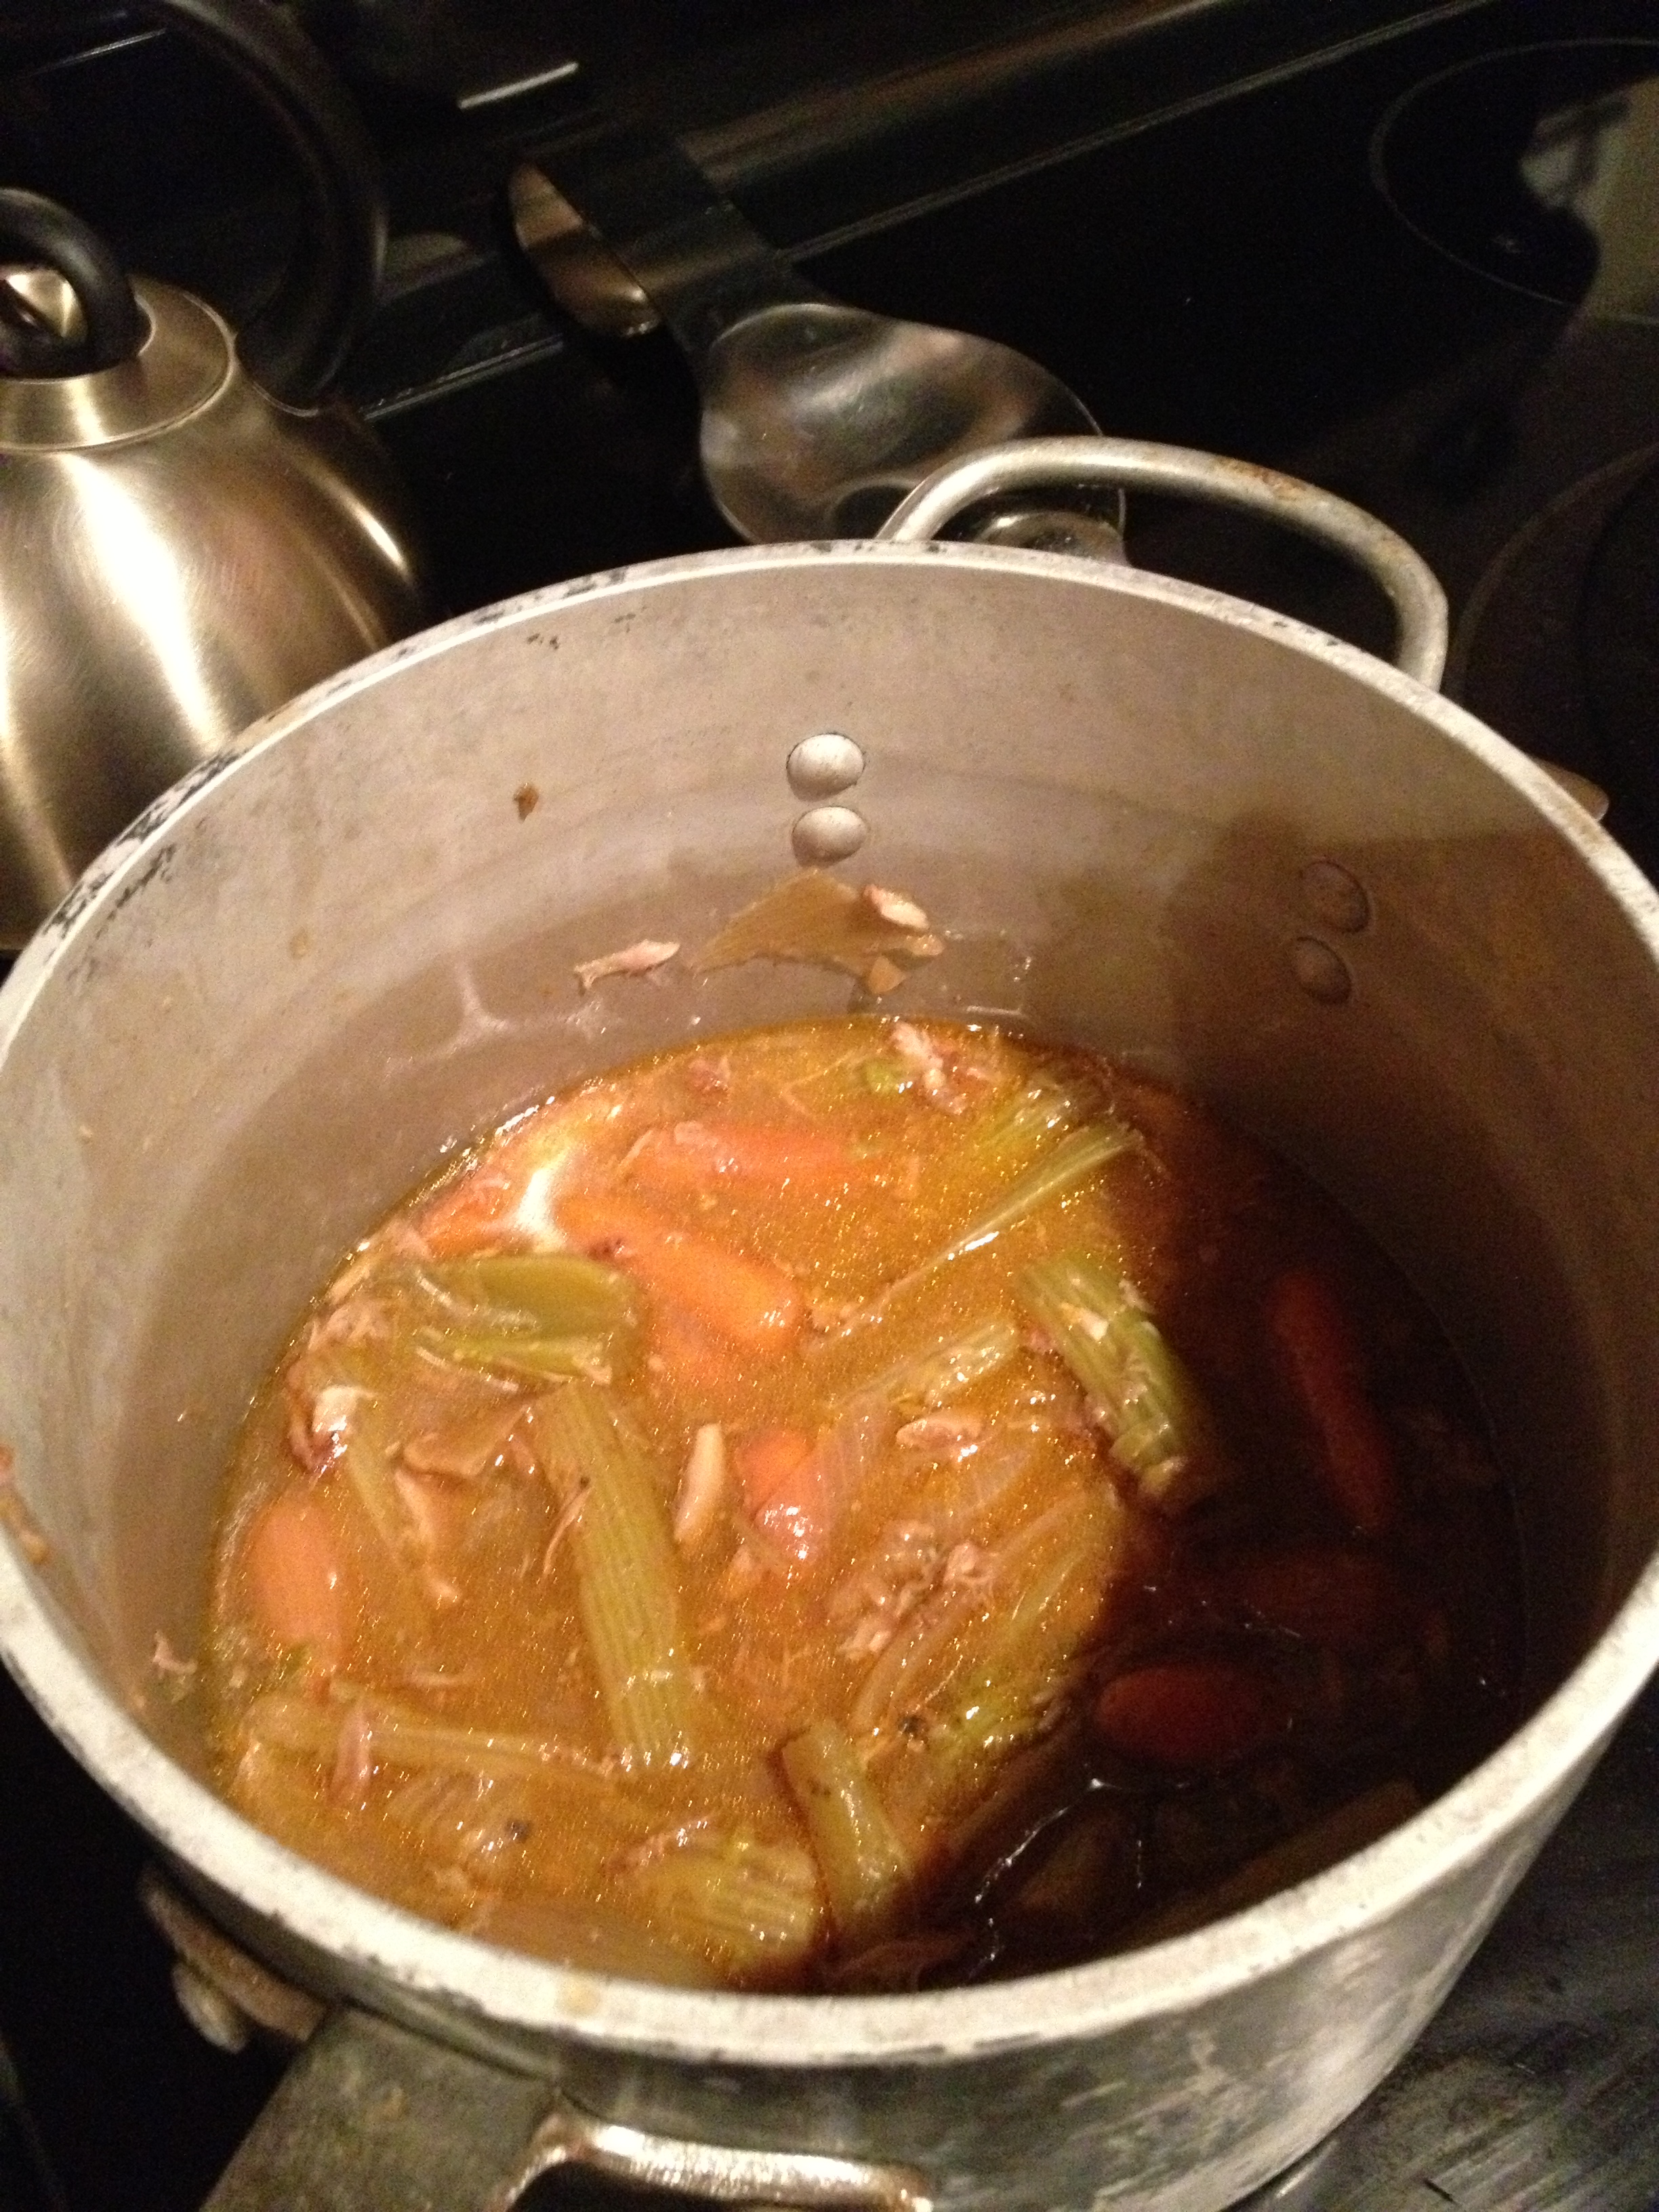
Next comes the easy part, basically I poured in chicken broth plus a splash of white wine (another variation from the original recipe) and threw in the potatoes. Then I let it simmer for a lil bit til the leeks and potatoes are nice and tender.

In the meantime…. Salmon!
First let’s talk about portioning. In the original recipe, it calls for about two thirds of a pound of salmon for 6 servings. That’s a reasonable portion of fish in my opinion. However for this meal, as I was being a lil lazy, I decided to buy a bigger portion of fish and make my chowder my main meal… Plus extra salmon is okay by me. So I probably used the same amount of salmon in the recipe but everything else was half the portion as there are only two people in my house. Gluttonous I know.

So I seasoned the salmon with some salt and pepper, garlic powder and old bay (cheat I know =)).

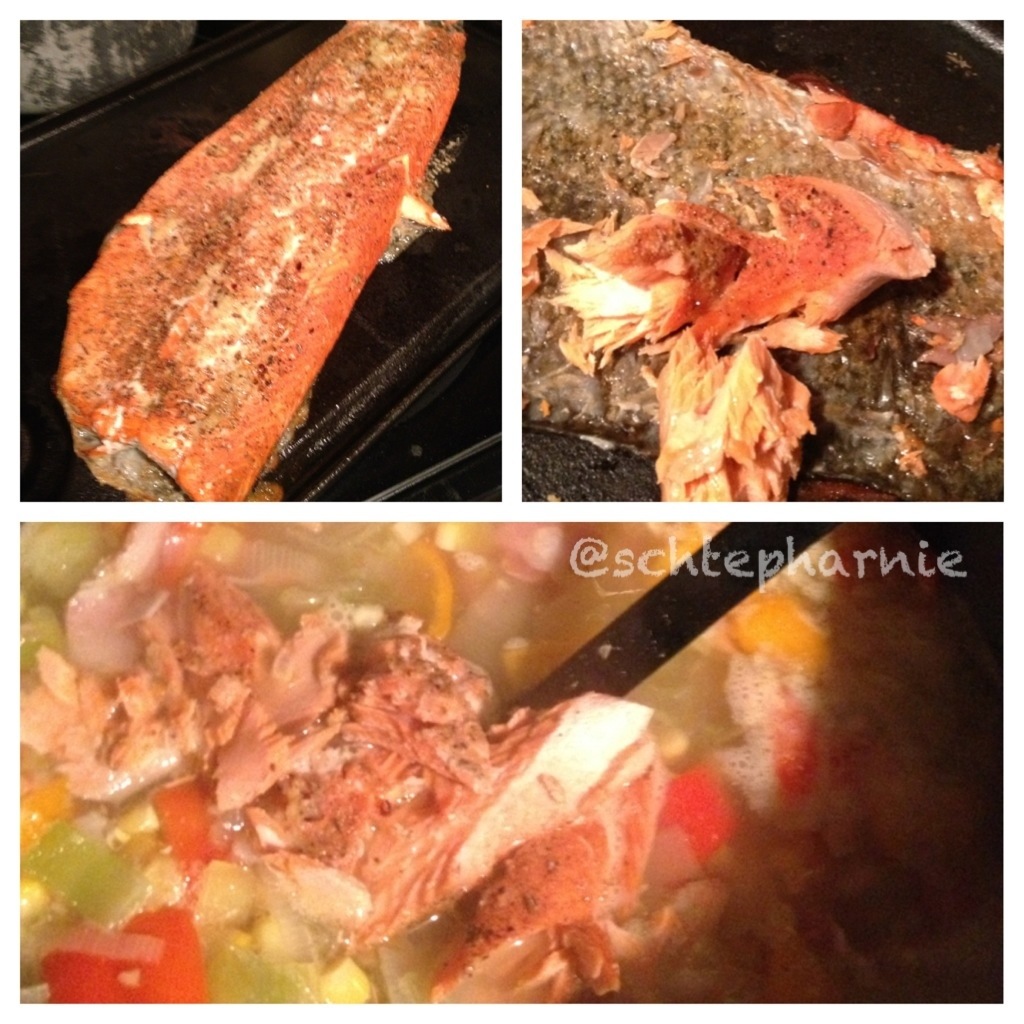
Another variation to the recipe. I grilled the salmon separately on a flat top grill and cooked it to about a medium temperature.

I’ve tried both methods, cooking the salmon in the stock pot and grilling it separately. I personally enjoy the taste of grilled salmon in this soup. There is a slight char to the flesh and I feel having the skin on the bottom keeps it nice and moist and for me, prevents it from overcooking somewhat.

Then of course, everything else is business as usual. Flake the salmon into nice chunks and set aside.

Just before I add the salmon to the broth with the leeks, bacon and potatoes, I add the remaining vegetables to the pot.

I personally like my vegetables to have a slight crunch and a “fresh” texture, ie not mushy. So once I throw the corn and peppers in, I switch off the heat, cover the pot and let it sit and cook the vegetables for a few mins.

Then I add my salmon and give it a rough stir.

20121219-142536.jpg

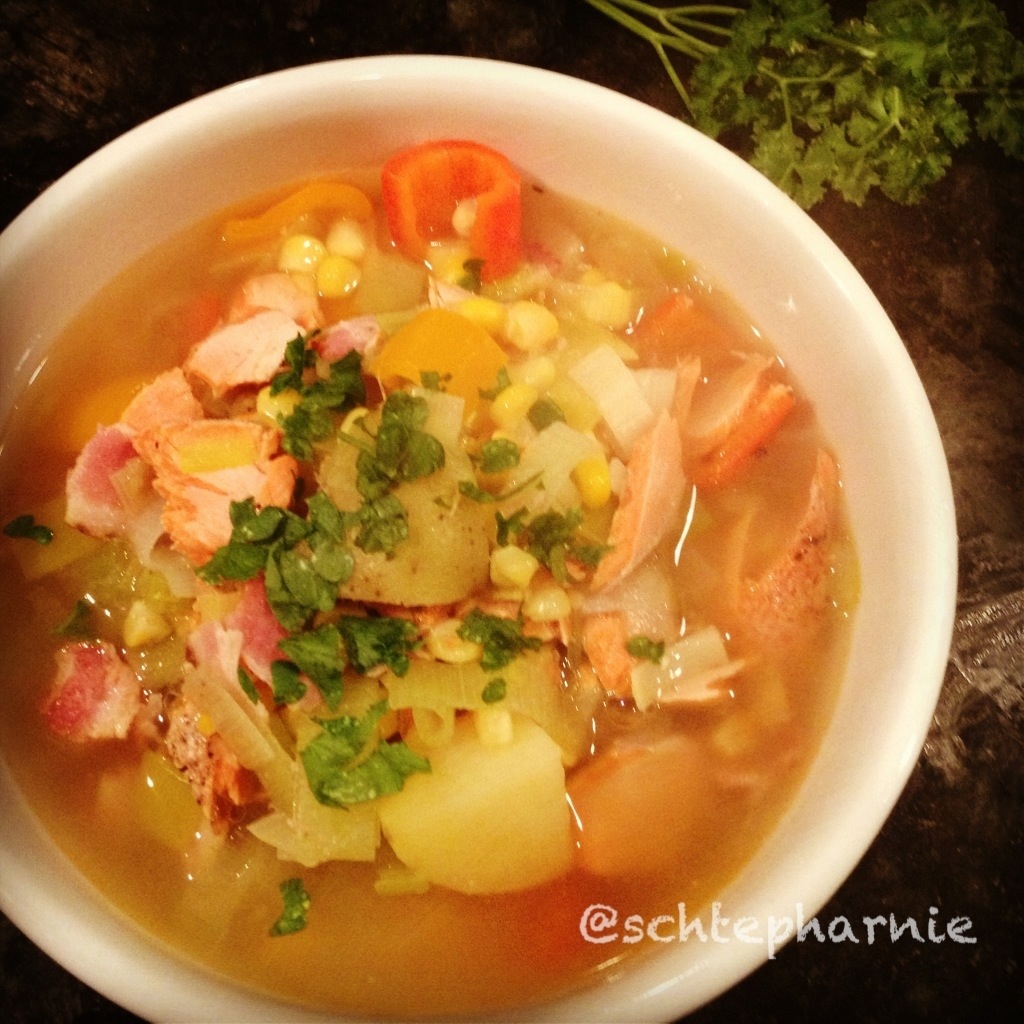
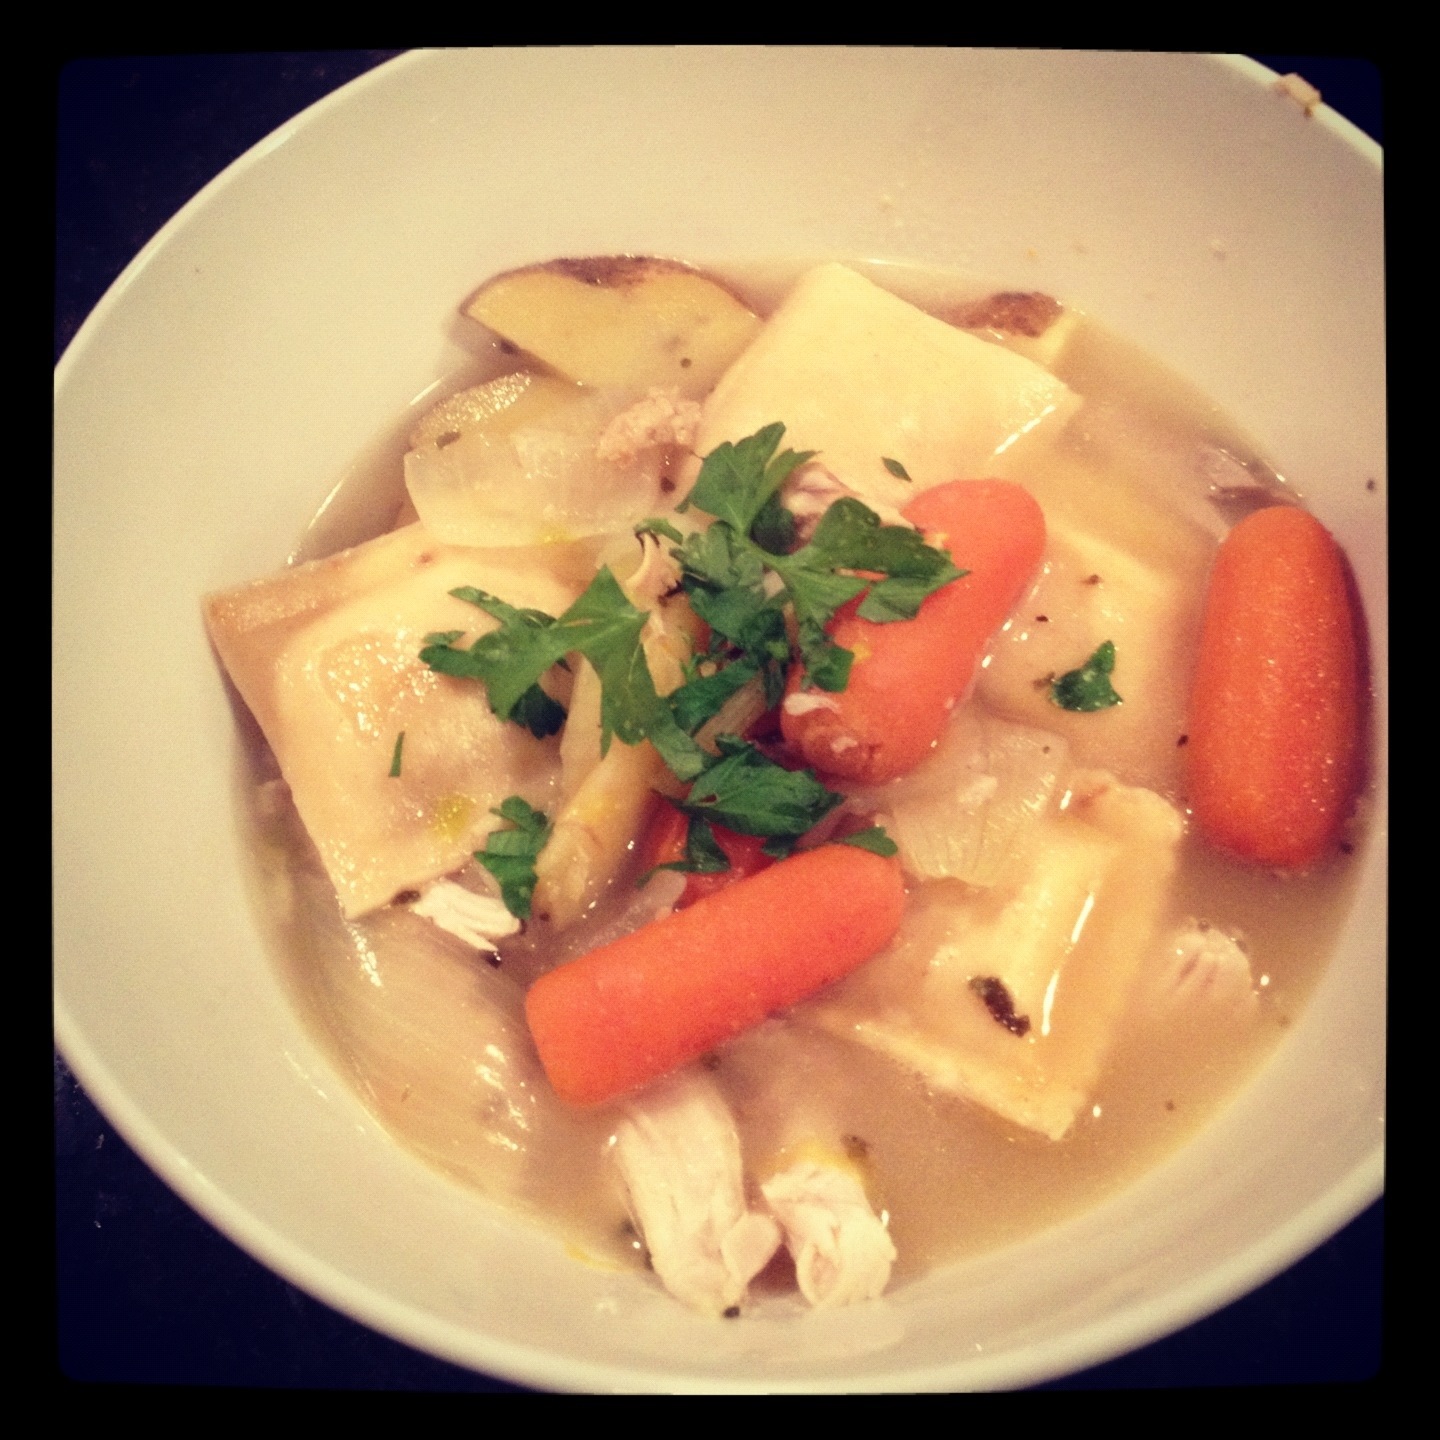
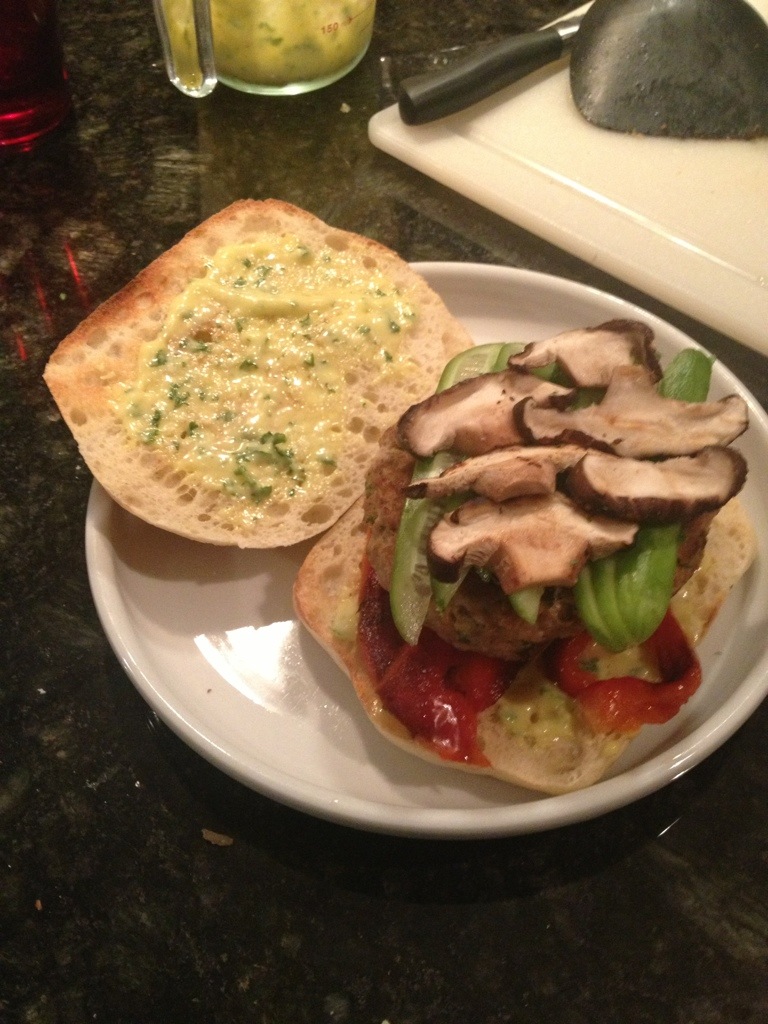
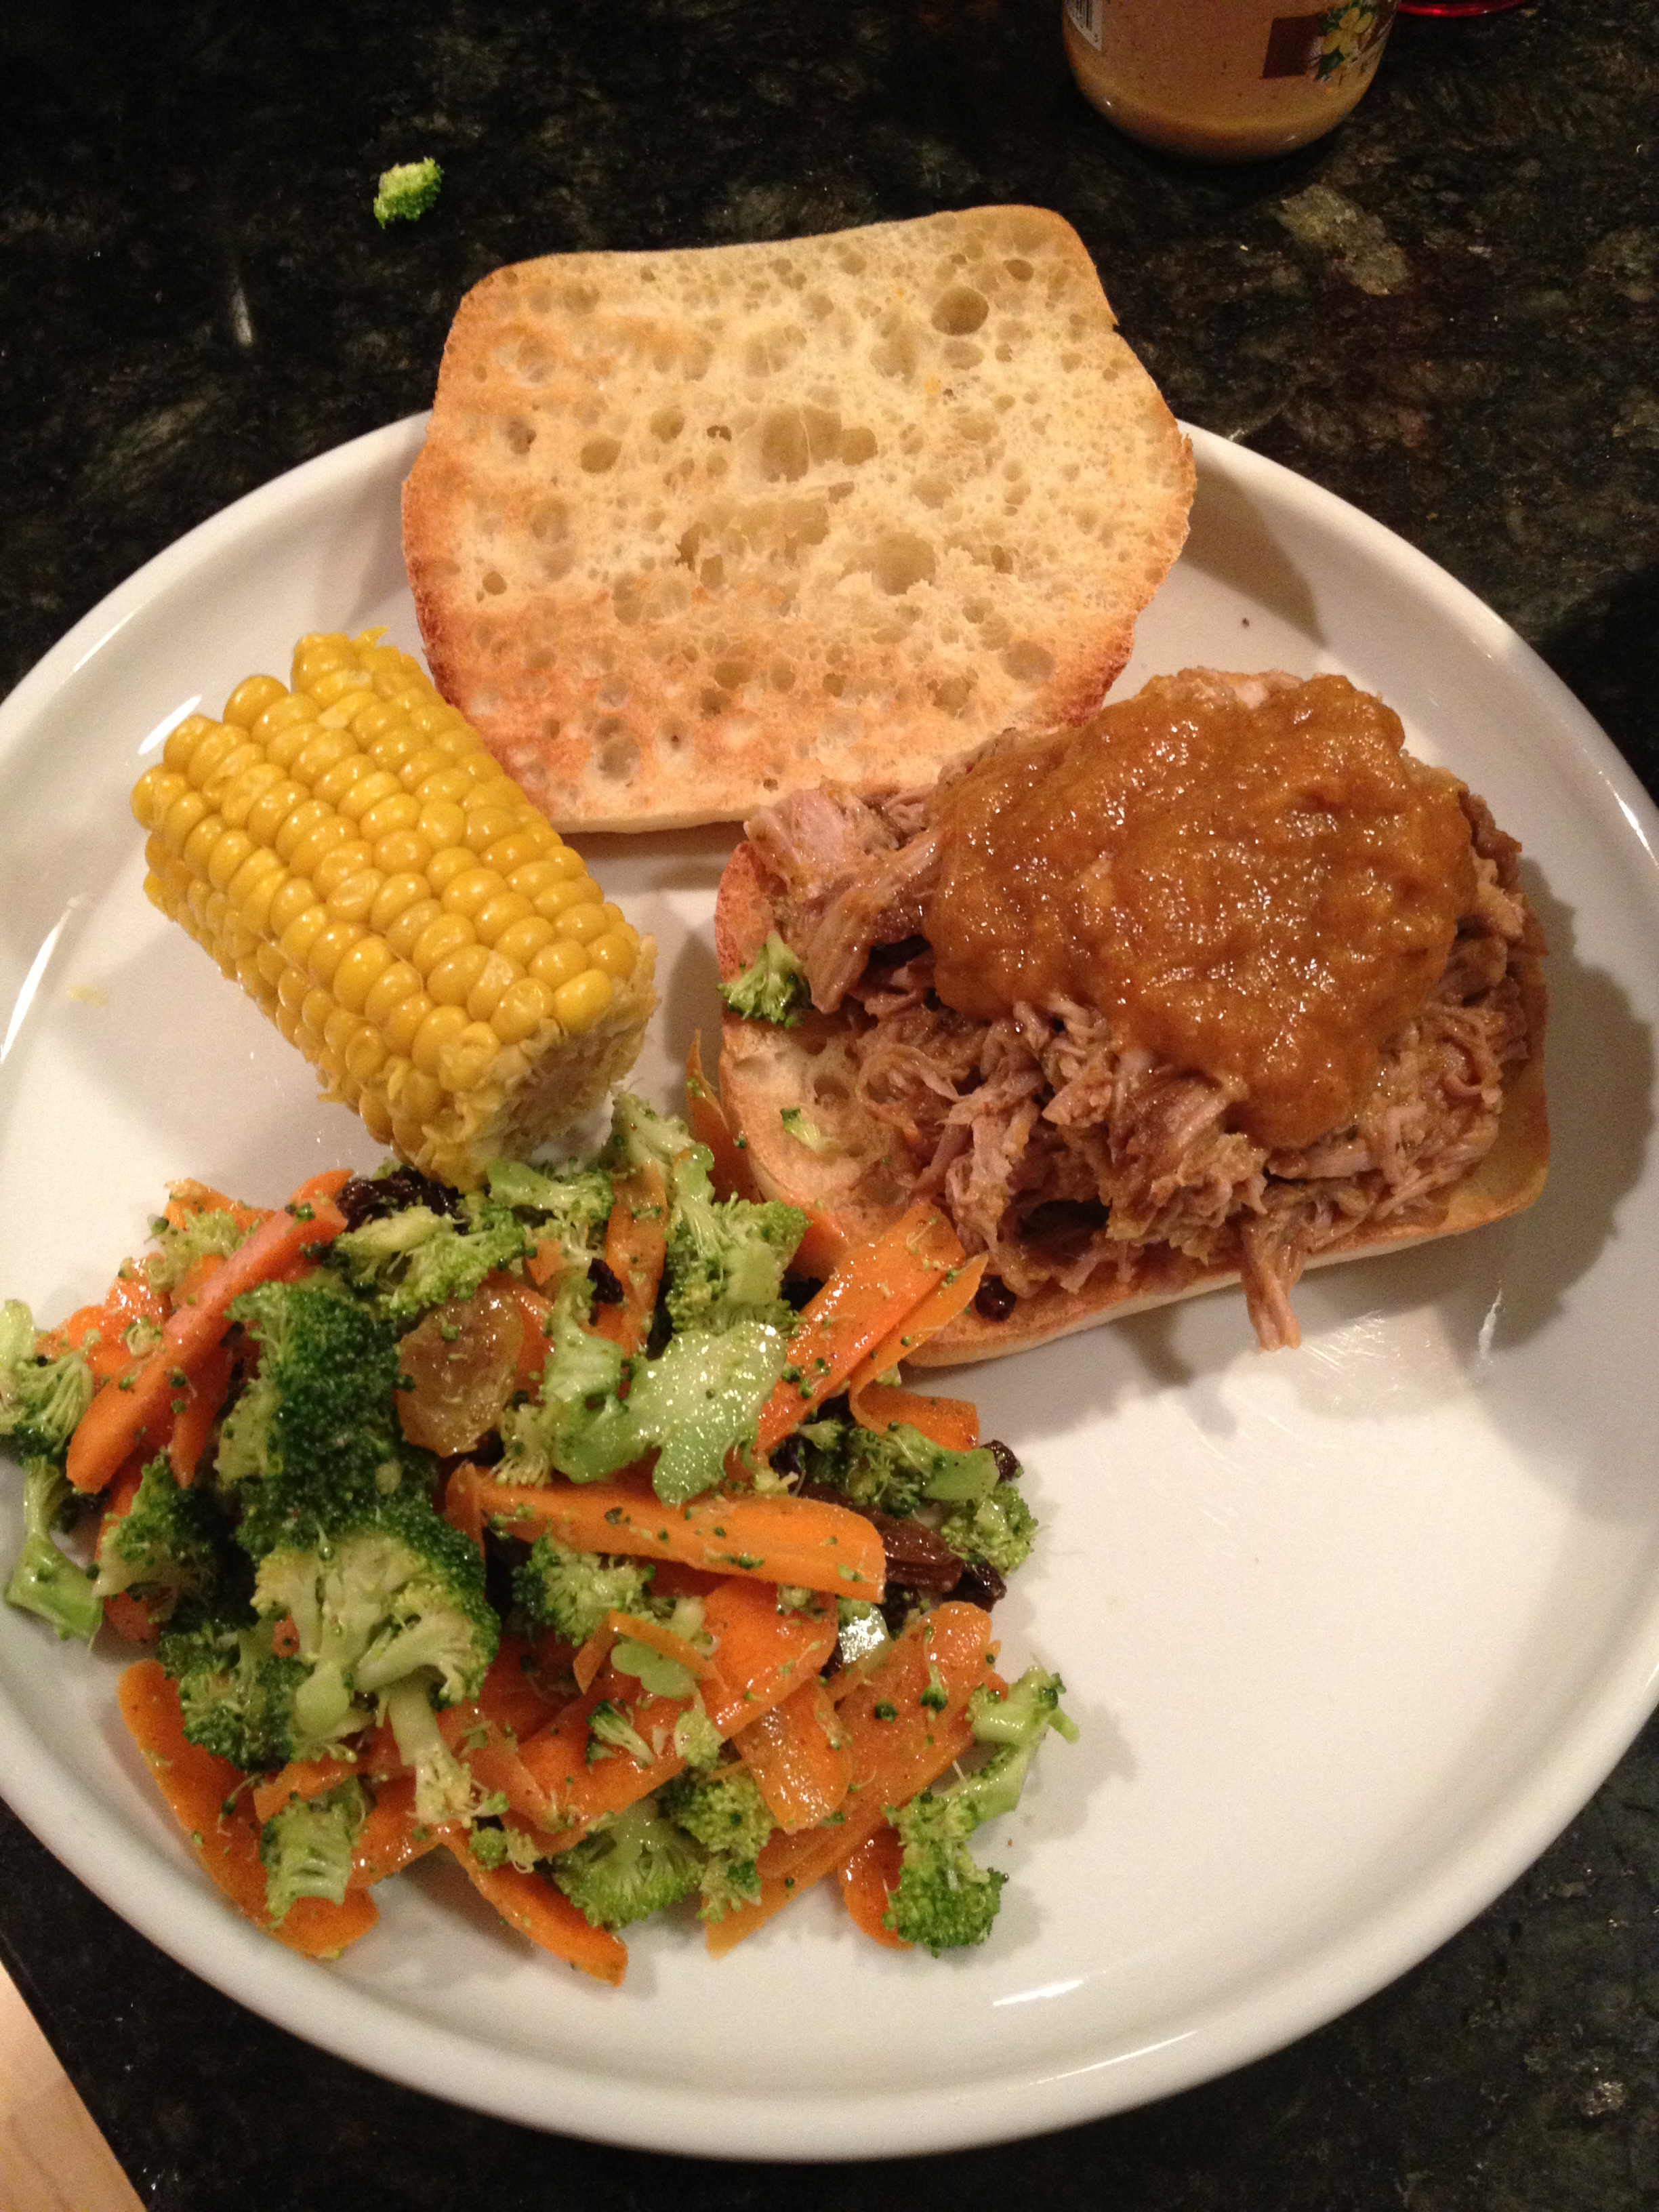
Finally. The finished product. Which I find very tasty.

Between the saltiness from the bacon and chicken broth, I really don’t need to add much salt. I definitely add some nice fresh ground pepper and fresh chopped parsley as a finishing touch.

There you have it, a healthy and hearty chowder thrown together in less than an hour. THANKS OPRAH!!

YUMMEH.

20121219-143946.jpg

Experiment: Low Fat Pumpkin Cheesecake

One of the best parts if thanksgiving is DEFINITELY the desserts!!

I had the immense pleasure of tasting an awesome pumpkin cheesecake this thanksgiving and could not stop thinking about it for a few days so I decided to give it a try.

I looked up a few recipes and tried to draw what I liked from each one. I was also really eager to attempt a low fat version using Neufchâtel cheese and yogurt instead of cream cheese and sour cream.

20121128-152337.jpg

As this is in the baking realm, measurements are somewhat important. But luckily in cheesecake, not as strict. Works for me, a lazy measurer hah!!

So basically for the filling I used….
1 packet Neufchâtel cheese
Half a tub of vanilla yogurt (yay chobani!!)
Maybe 3/4 cup sugar (depending on your taste really)
1 can pumpkin
2 eggs (separated)

I mixed everything together except the two egg whites I set aside. Someone told me that to achieve a light fluffy texture, I should whisk the whites separately and then fold it into the filling mixture after.

So I decided to do it that way. Aren’t I ambitious. =P

20121128-153150.jpg

And the crust! (My favorite part I have to admit)
I crushed some low fat honey Graham crackers up into a bowl.
I mixed in a touch of brown sugar, maybe a tablespoon at most.
And then the piece de resistance…..!
I grated some fresh ginger into the mixture!
This was a little bit of my own twist on the flavors as I had this idea in my mind that pumpkin and ginger go beautifully together!

Cut in about a half stick of butter and press the mixture down into the bottom of your dish.

Now on that note, I was supposed to use a spring form pan to cook a cheesecake. However I don’t have one. And since this was my first experiment, I figured that I would perfect my recipe and technique before buying ANOTHER piece of bakeware to stuff into my kitchen cabinets.

So I used a pie dish for now. Don’t judge!

20121128-153957.jpg

And thennnnnnn…… Filling + crust

20121128-154046.jpg

Bake at 350 F for about 40 to 50 mins.
And there you go!!

Now for my first time, I would say I didn’t do too badly.
The flavors were definitely my cup of tea. Not too sweet and I loved the ginger in the crust.

My downfall was the cooking time, as I overcooked it a tad and the filling cracked after cooling down.
The filling, luckily, was still moist and creamy despite that. Just ugly looking haha!

All in all, I would say close your eyes and take a bite!

20121128-154402.jpg

On a last note, here are some tips I read online that I felt were simple but relevant to the success of a simple cheesecake.

Don’t over mix your filling… I forget why. But just don’t. Google it haha

Don’t over cook your cheesecake. Basically you want to take the cheesecake out when the filling is still jiggly and it will firm up as it cools.

When you take the cheesecake out of the oven, while it’s still hot, run a knife around the edges to separate the filling from the sides of the pan.
As cheesecake cools, the cheese filling reduces in siZe and by separating it from the sides, it prevents it from cracking as the filling tends to stick to the sides and therefore forms cracks as it cools.

Okay. That’s my .02 right there.

Cook/ eat with you soon 😉

Thanksgiving leftovers!

Thanksgiving turkey! We all love it and we gorged on it last week.

So after a week of eating turkey and stuffing, let’s move on to a week of awesome turkey soup!!

In Malaysia, we cook with everything. We try to use every single bit of meat, vegetable and scrap we can and this definitely translates well to thanksgiving leftovers.

There is already so much flavor in the carcass of the turkey from roasting it for several hours, so half your job is done there.

We roasted our turkey with a garlic, ginger, rosemary and sage rub so all those flavors were definitely in the profile already. In the pot it goes!!

20121128-133213.jpg

And of course the standard soup fillers and flavors.
Carrots, celery, onions and garlic. Gotta have that garlic =)
I also added ginger to the pot cos I love the flavor of it and how well it marries with other spices so easily.

20121128-133516.jpg

Add white wine, more rosemary and thyme if you wish and let it get going!!

20121128-133705.jpg

So fast forward to a few hours later. After going through the fridge for leftovers we come up with the following soup concoction:
Pulled turkey meat, of course
Baked potatoes sliced
Butternut squash ravioli
And yummy broth with carrots and celery!

The raviolis were an afterthought but I felt that they would go well in a way that dumplings go well in chicken and dumpling soup =)
An odd combination no doubt, but certainly enjoyable. (At least my belly certainly did!)

20121128-133919.jpg

Late night snacking : Turkey Burgers with sexy toppings

So it was late and I wanted to cook a good meal for my partner in crime that was yummy but relatively easy.

I went a lil overboard but I felt it was worth it. And really not that hard at all.

20121120-223151.jpg

So I had a lil turkey left over from dumpling making the night before. Random shiitake mushrooms and some other leftovers in the fridge. So here I go.

First things first. Chopped up broccoli and threw it in the turkey with some garlic, soy sauce, pepper and a pinch of salt. I thought since I was gonna have fun with toppings, I’d go simple on the burger itself.
Now I used an egg white to bind the turkey and set the egg yolk aside to make an aioli from scratch.

So peppers went in and roasted away

20121120-223455.jpg

Then next. The aioli.

Basically aioli is fancy for mayonnaise. It’s egg yolks and oil. The key is to make sure you whisk the egg yolk enough and make it fluffy enough to incorporate the oil and thicken it into a mayo like consistency rather than a vinaigrette.
So I whisked egg yolk with mustard to start and then drizzled EVOO into it slowly. Then once I achieved the consistency I wanted, I added some lemon juice, parsley, fresh pressed garlic and some Parmesan cheese.

20121120-223905.jpg

So turkey getting done woot woot

20121120-223934.jpg

Anddddddd finally all my sexy friends are ready to be dressed.
I also sliced up some baby cucumbers to add a nice fresh crunch to the sandwich.

20121120-224011.jpg

And finally with my toasted ciabatta roll.

20121120-224118.jpg

Tada!!!

She thought it was good, the lil beggar. =)

20121120-224159.jpg

Sunday Dinner: Pulled pork… My way…

Pulled pork is one of those dishes that I only discovered when I moved to America. Actually, Boston, to be precise.

The first time I had it was from the sub shop that was on the corner of my block when I was going to college. Someone suggested it, saying they thought I would enjoy it… And I did…!

Since college days, I have experimented a few times in making pulled pork and I think I’ve finally narrowed it down to my favorite combination of things.

I don’t declare my pulled pork to rival any master BBQ places, as I don’t smoke anything nor do I really have the acute knowledge of real southern BBQ or really any denomination of BBQ…

I try to make it somewhat healthy as my motto usually goes…. “I love unhealthy food… so I try to make my versions a little healthier” hah!

So I call this pulled pork… My way. =)

I’m gonna list down what I throw into my recipes… However, I never measure anything and I also feel that a lot of recipes follow the tastes of the chef. If I like potatoes, I will add more potatoes, if I like cilantro, load up the cilantro… etc. So I hope this isn’t too confusing for anyone reading this.

First things first…. Pork shoulder… and my magical crock pot (one of my all time favorite investments… and not an extremely extravagant one either!).

I made a rub with brown sugar, paprika, cumin, cayenne, oregano, garlic powder, white pepper, salt and black pepper. I rubbed down the shoulder with the rub and set it aside for a few mins. I also made a spice mix of cloves, bay leaves, whole peppercorns and placed it in a bag to simmer with the pork)

I cut up some celery, carrots, onions and garlic and mixed them all together and seasoned it lightly with salt and pepper. I lined the bottom of the pot with a layer of veggies, then put the pork on top and then stuffed a few stray veggies around the top of it… =)

Then some white wine, and set it to go for the next 6 hours on low.

Image


So fast forward to 6 hours later… (don’t you love it when they do that on tv?)

I’ve pulled out the pork (hah… punny……… okay enough) and let it rest for a while… and then I start breaking it up. I personally like to keep a little bit of chunkiness to the texture of the pork, as opposed to completely shredding it. But again, you do what you prefer, as I do. =) Image

And now… On to the sauce…. Tada!

So all those veggies and garlicky goodness that was stuck in the pot don’t go to waste, at least for me. I take it all and put it in a pot and take enough of the juices from the pork to cover the veggies.

I start to simmer the liquid and veggies and then I use an immersion blender and blend up all the veggies so it forms a nice thick sauce. Then I add flavors to the sauce to make it a “BBQ” sauce. =)

Honey, cider vinegar, worcestershire, sriracha (for a kick and i LOVE sriracha), and tomato paste. In this case, I was missing tomato paste, so I went for a squirt of ketchup… but ordinarily, tomato paste is bettah =) mix it all up, and simmer for a few mins… And we’re done!Image

And now… The final product!

For bread, I used some awesome ciabatta rolls I picked up (oooh fancyyyy).

Toasted them and placed some pork that had already been tossed in sauce. Then I dropped more sauce on top (never have too much!).

For a side, I chose a simple broccoli and carrot slaw. I threw in raisins and currants too, for some sweetness.  I made a simple vinaigrette out of dijon mustard, sugar, red wine vinegar and EVOO. Just something simple and tangy to cut the richness of the pork… mmmm =)

Oh and corn haha

So tada! Hope you liked my post =)Image

PS can someone tell me why some of my text is blue and some of it is black? I’m still trying to get used to this blogging thing =P Ah well… I will learn! [Update: I learned… ;)]

My Virgin Post

So today begins a new side project for me…. After much thought and consideration over the past few weeks/months, I decided to start a blog. 

The first theme is, of course, close to my heart. Food. 

However, I wanted this blog to be a little more about just the food I cook and the food I eat at amazing places I’ve discovered in my travels and adventures. So I guess this is a mostly food inspired blog…. With some of life thrown in. 

I happen to love shoes, too. =)


So here it is… And welcome =)